First pieces
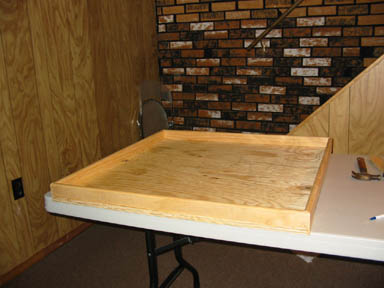
Click for larger image
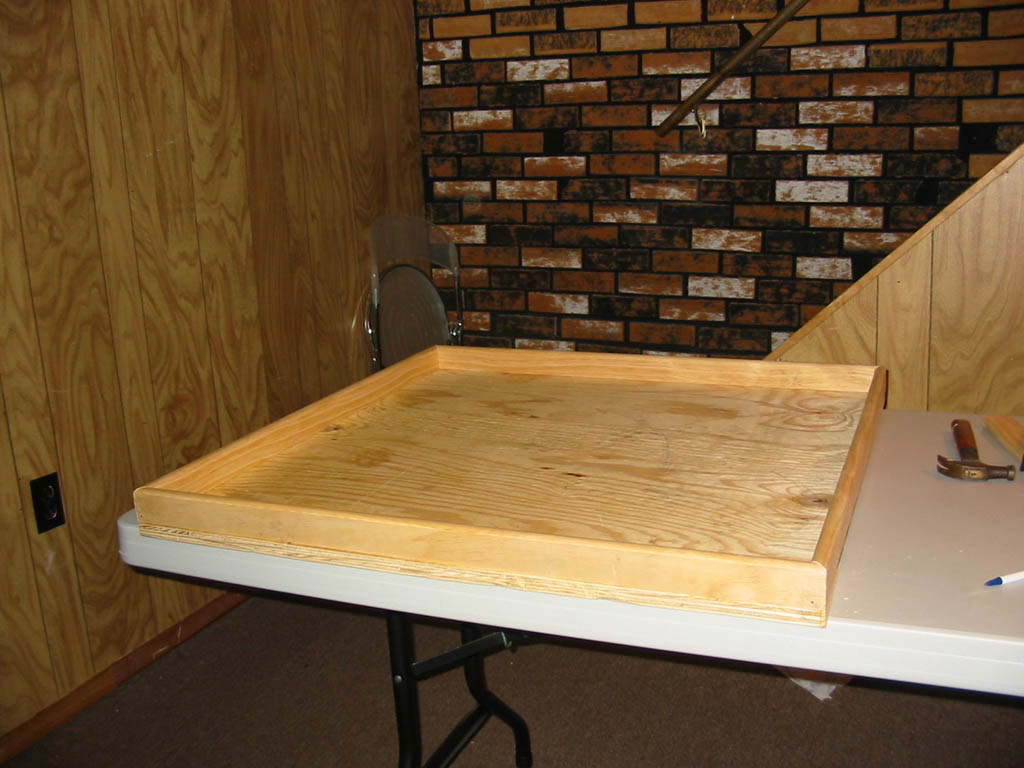
Taa-daa! First the edge pieces went on the board (we've skipped the part where I cut the base down to size and cut the rails to length with a mitre saw to create the 45-degree angles where they would meet on the corners). Right here is where I realized my first mistake. I cut everything to length for putting the rails on top of the base, but what I would do on any other pitch is put the rails on the side (and in the process, probably buy taller rails so that they still extended enough over the top of the base).
The reason for this is twofold... first, Crown Moulding never comes in perfectly flat pieces. The original length of these pieces of wood are roughly 12' long, and so as they are stored at the hardware store tend to be prone to slight warping. Sometimes they warp "sideways", creating a curve if you put it on the ground. Othertimes it's warped vertically, where you can put a length on the ground and both ends will never touch the ground at the same time. The wood had to be forced while I glued the pieces down, and then nailed them corner to corner, as I hoped for the best. This wasn't a failsafe plan, to be sure, and I ended up with many small areas where the rail would either overhang the base or where you could see the top of the base as the wood curved inwards down the length of the board. Sanding proved only mildly effective, since the base I purchased was very resistant to being sanded sideways and I shredded a lot of sandpaper trying to fix the problem. In the end, I never got things perfectly flush.
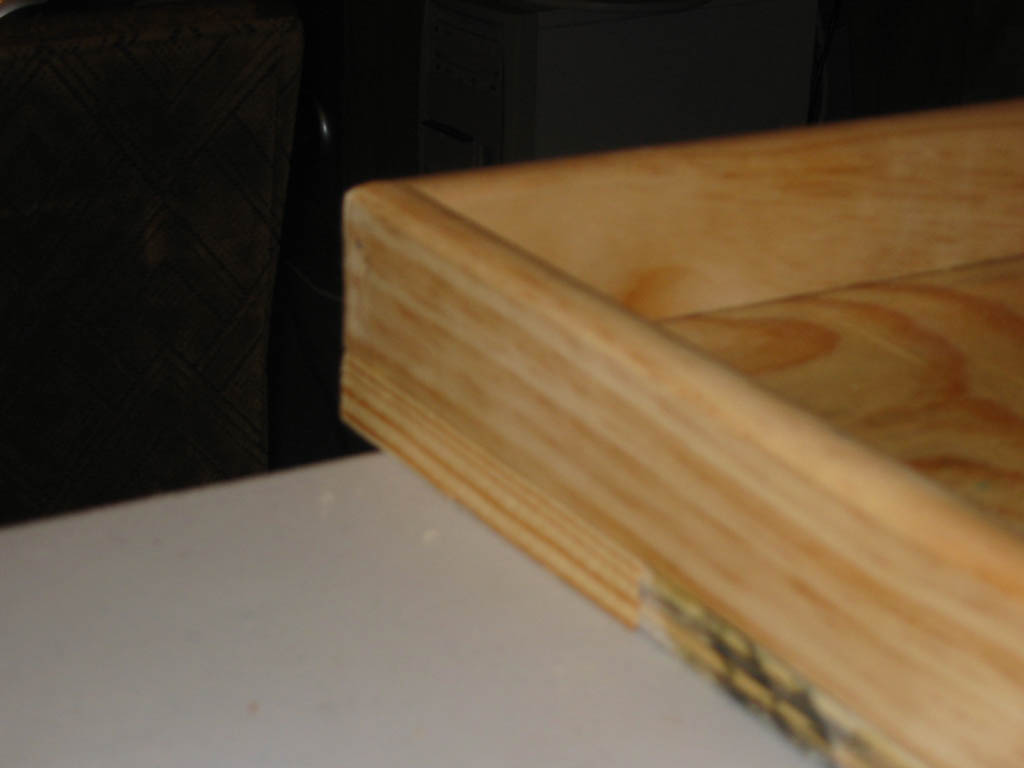
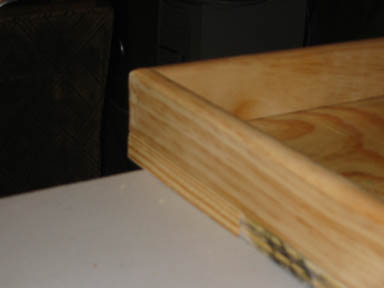
Here's some other pictures of the pitch, from a few different angles. This picture is a close-up of one of the corners. You can see this edge is mostly flush to the base, and you can also see one of the nails in the rail where it's being pinned to the 90-degree rail it joins with.
Click for larger image
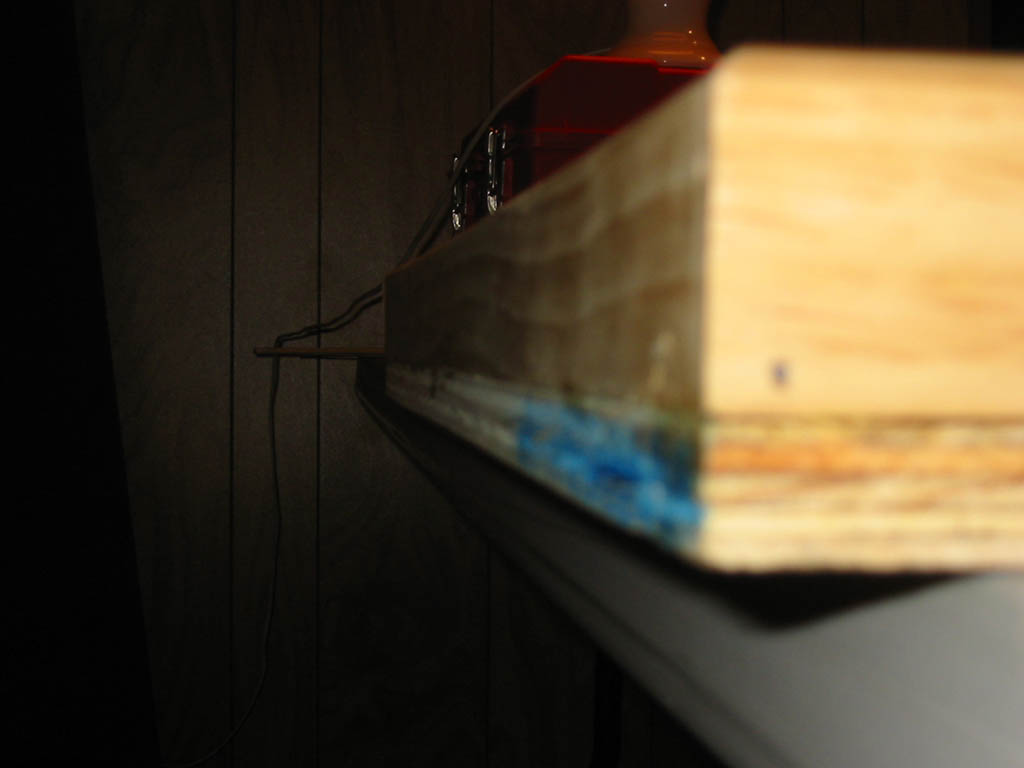
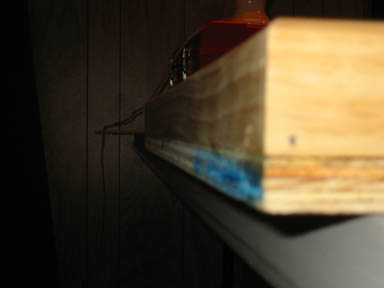
Here's an outside angle picture of one of the corners. You can see how the corners didnt line up quite perfectly (due to the warping issues) and the small bit of wood sticking out would eventually be sanded down before poly'ing the pitch.
Click for larger image
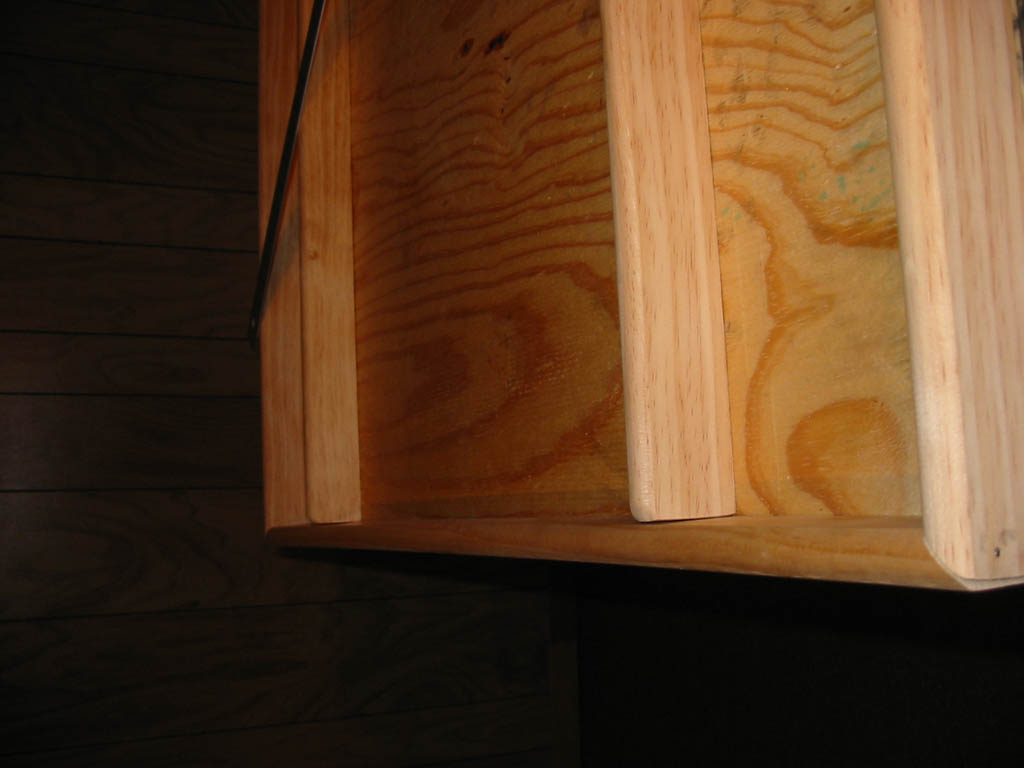
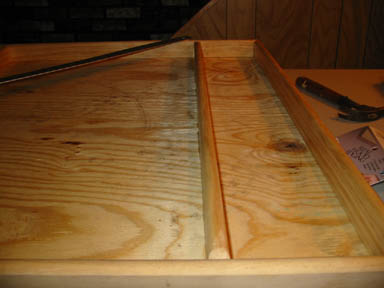
Here's a shot looking down one of the gutters after everything was glued into place.
Click for larger image
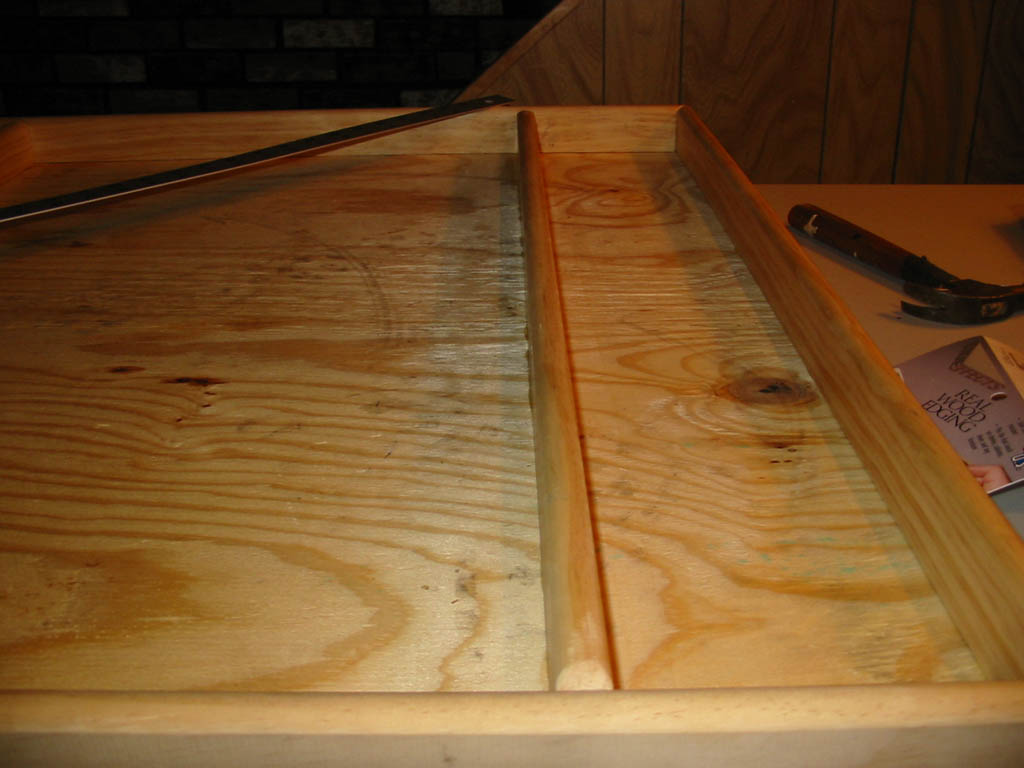
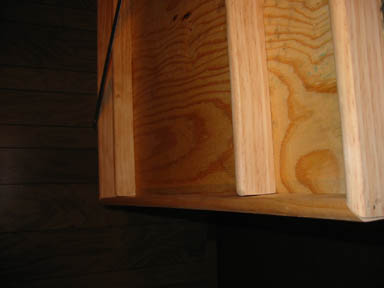
And a better angle of the gutters in place. I hand sanded the top of the gutter rails to "curve" down into the outside rails. Otherwise it looked a little funny with one piece sticking up at full height, meeting the downward curved edge of the outside rail. Another reason using flat-top wood would be easier to work with - you don't have to worry about these things.
Click for larger image
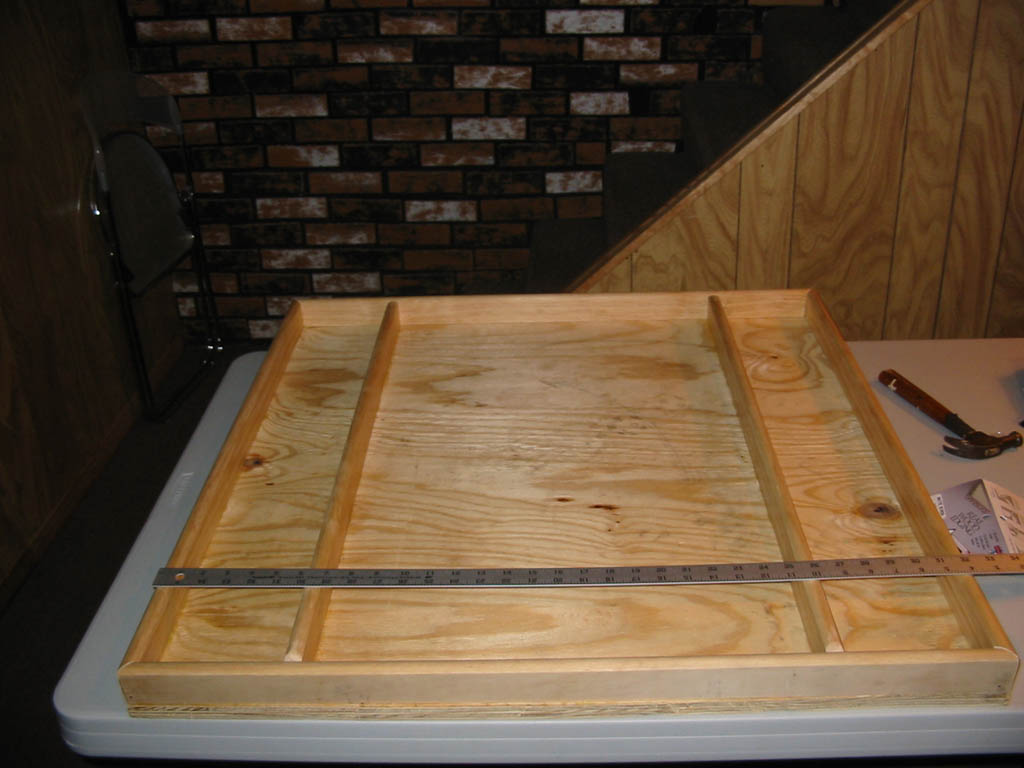
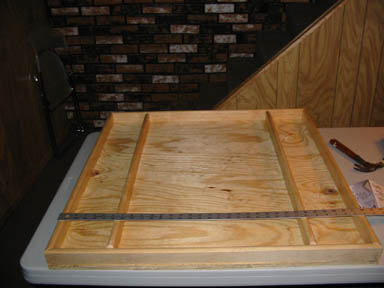
Finally, we have the "finished" shot of the wood in all it's (*cough*) glory. A plank of wood with 6 other pieces of wood attached to the top of it. I know, I know, completely unimpressive. But I was happy to get to this point because I could finally see the pitch beginning to take shape. Here we have a shot of the whole pitch, rails and gutters installed, while I was measuring everything out to make sure my gutters were the proper width and also straight all the way down the length of the pitch.
Click for larger image
<< Back One Page
<< Back to the Beginning