Cleaning up the edges
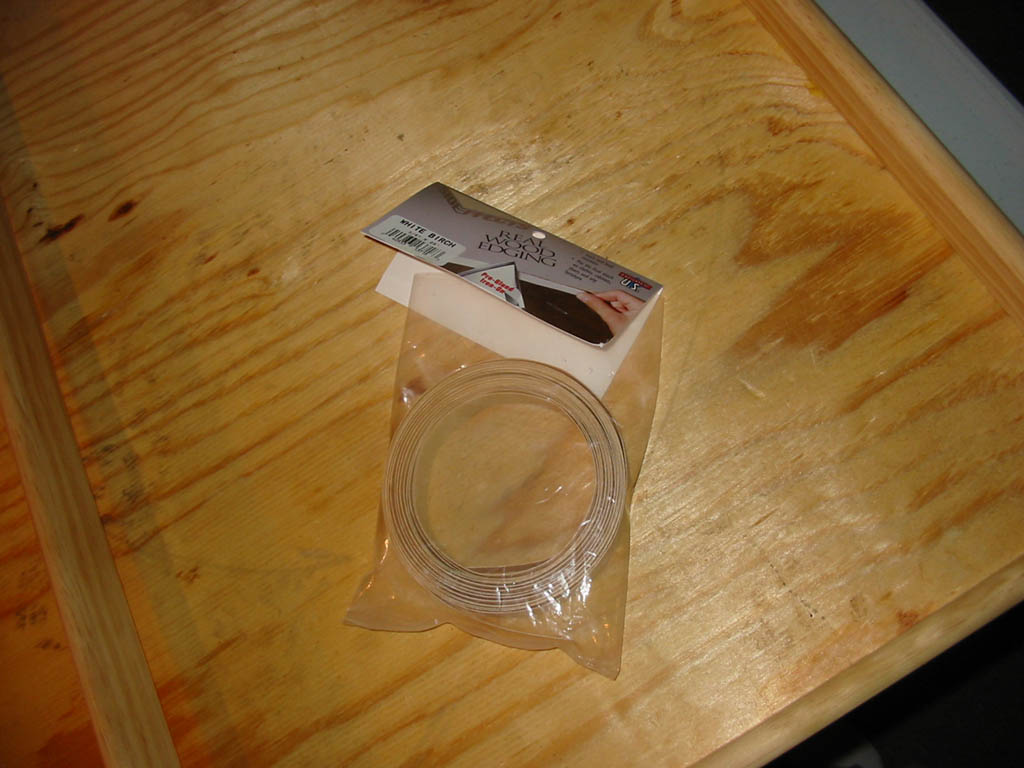
Unfortunately, we're left with an unsightly edge of the board to try and deal with after we put the rails on. I had thought about this, but never really determined what I was going to do about it. And once I put the rails on, I was confronted with this fact. I knew I wanted to "treat" the wood with polyurethane when I was done putting everything togehter, but this nasty-looking edge just wouldn't do. So, I took a trip back to Home Depot and came away with this stuff...
Click for larger image
Pre-glued iron-on wood edging... this would work, but I wanted to use a double-layer of it, stacking high, to really cover up more of the bottom edge. This roll is 25' long, just more than enough to go around a 32" long pitch 8 times.
Click for larger image
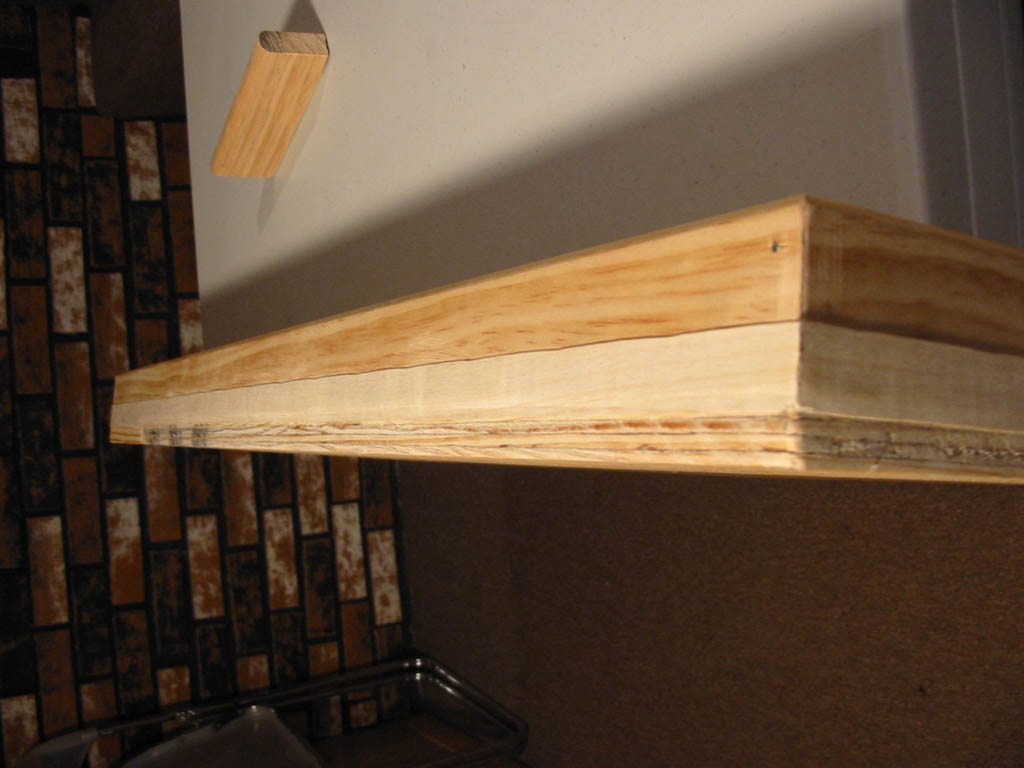
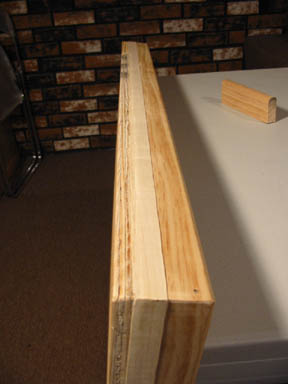
Here's the board on it's edge after I went around all four sides with the first layer of wrapping. I had to be careful because I needed to put the upper layer down first before putting the layer on that would be flush with the bottom edge. This would create a "stacking" look as opposed to putting the first edge on and then a second edge which would "stick out" above the bottom edge of the board. The stuff was pretty easy to work with though, even in places where the rail and base weren't completely flush. It just required some patience and some hard pressing of the iron over the ledges.
Click for larger image
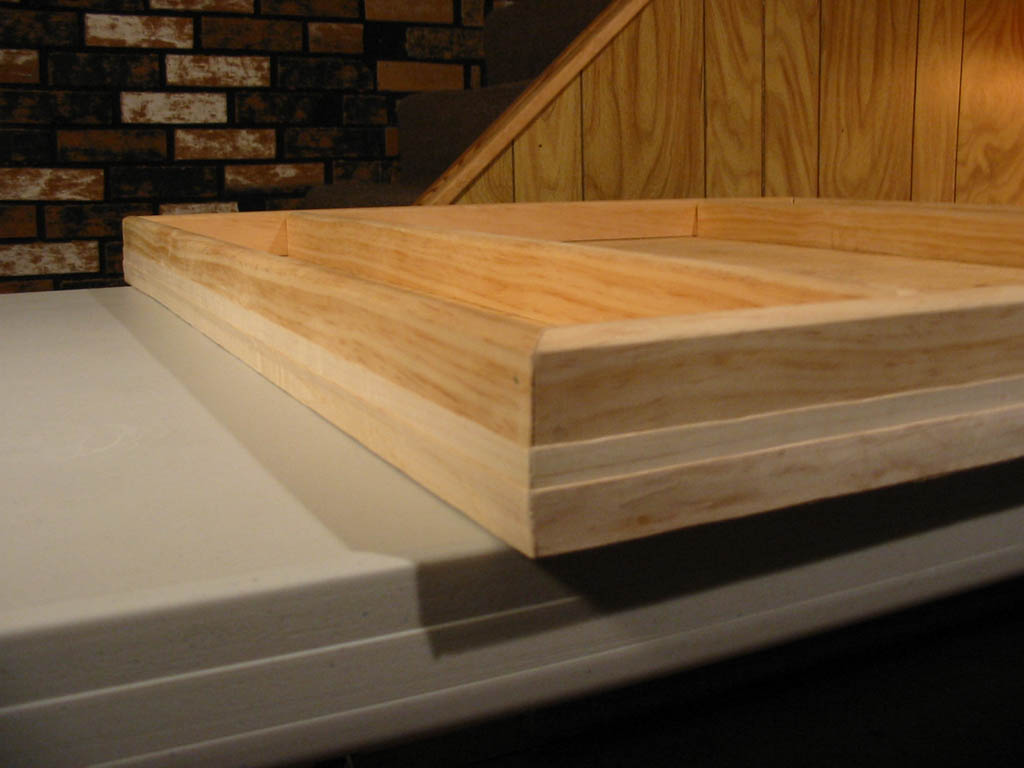
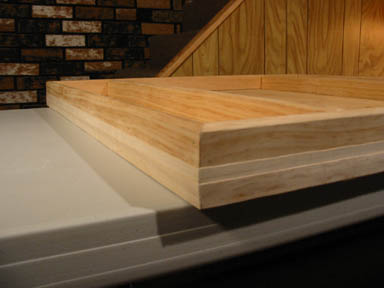
The pitch finally wrapped. All told, the edging probably took only half an hour or so to do, and that included some time to let the wood cool a bit from ironing between my first and second "lap". Of course, I still would have preferred if I had put the rails on the outside edge and never had to deal with this stuff in the first place. But que sera sera. :)
While the edging solution wasn't perfect, I still think it looks a heck of a lot better than the raw edge of the board remaining visible.
<< Back One Page
<< Back to the Beginning